DIY Wedding Table Name Cards with Envelopes
DIY wedding accessories, such as table name cards and envelopes, are not only a way to save some cost, but also a great means to really personalise your (once in a lifetime, maybe) event. Overall weddings tend to be expensive, but some to-dos you can be scratched off your list with a bit of imagination and manual work.
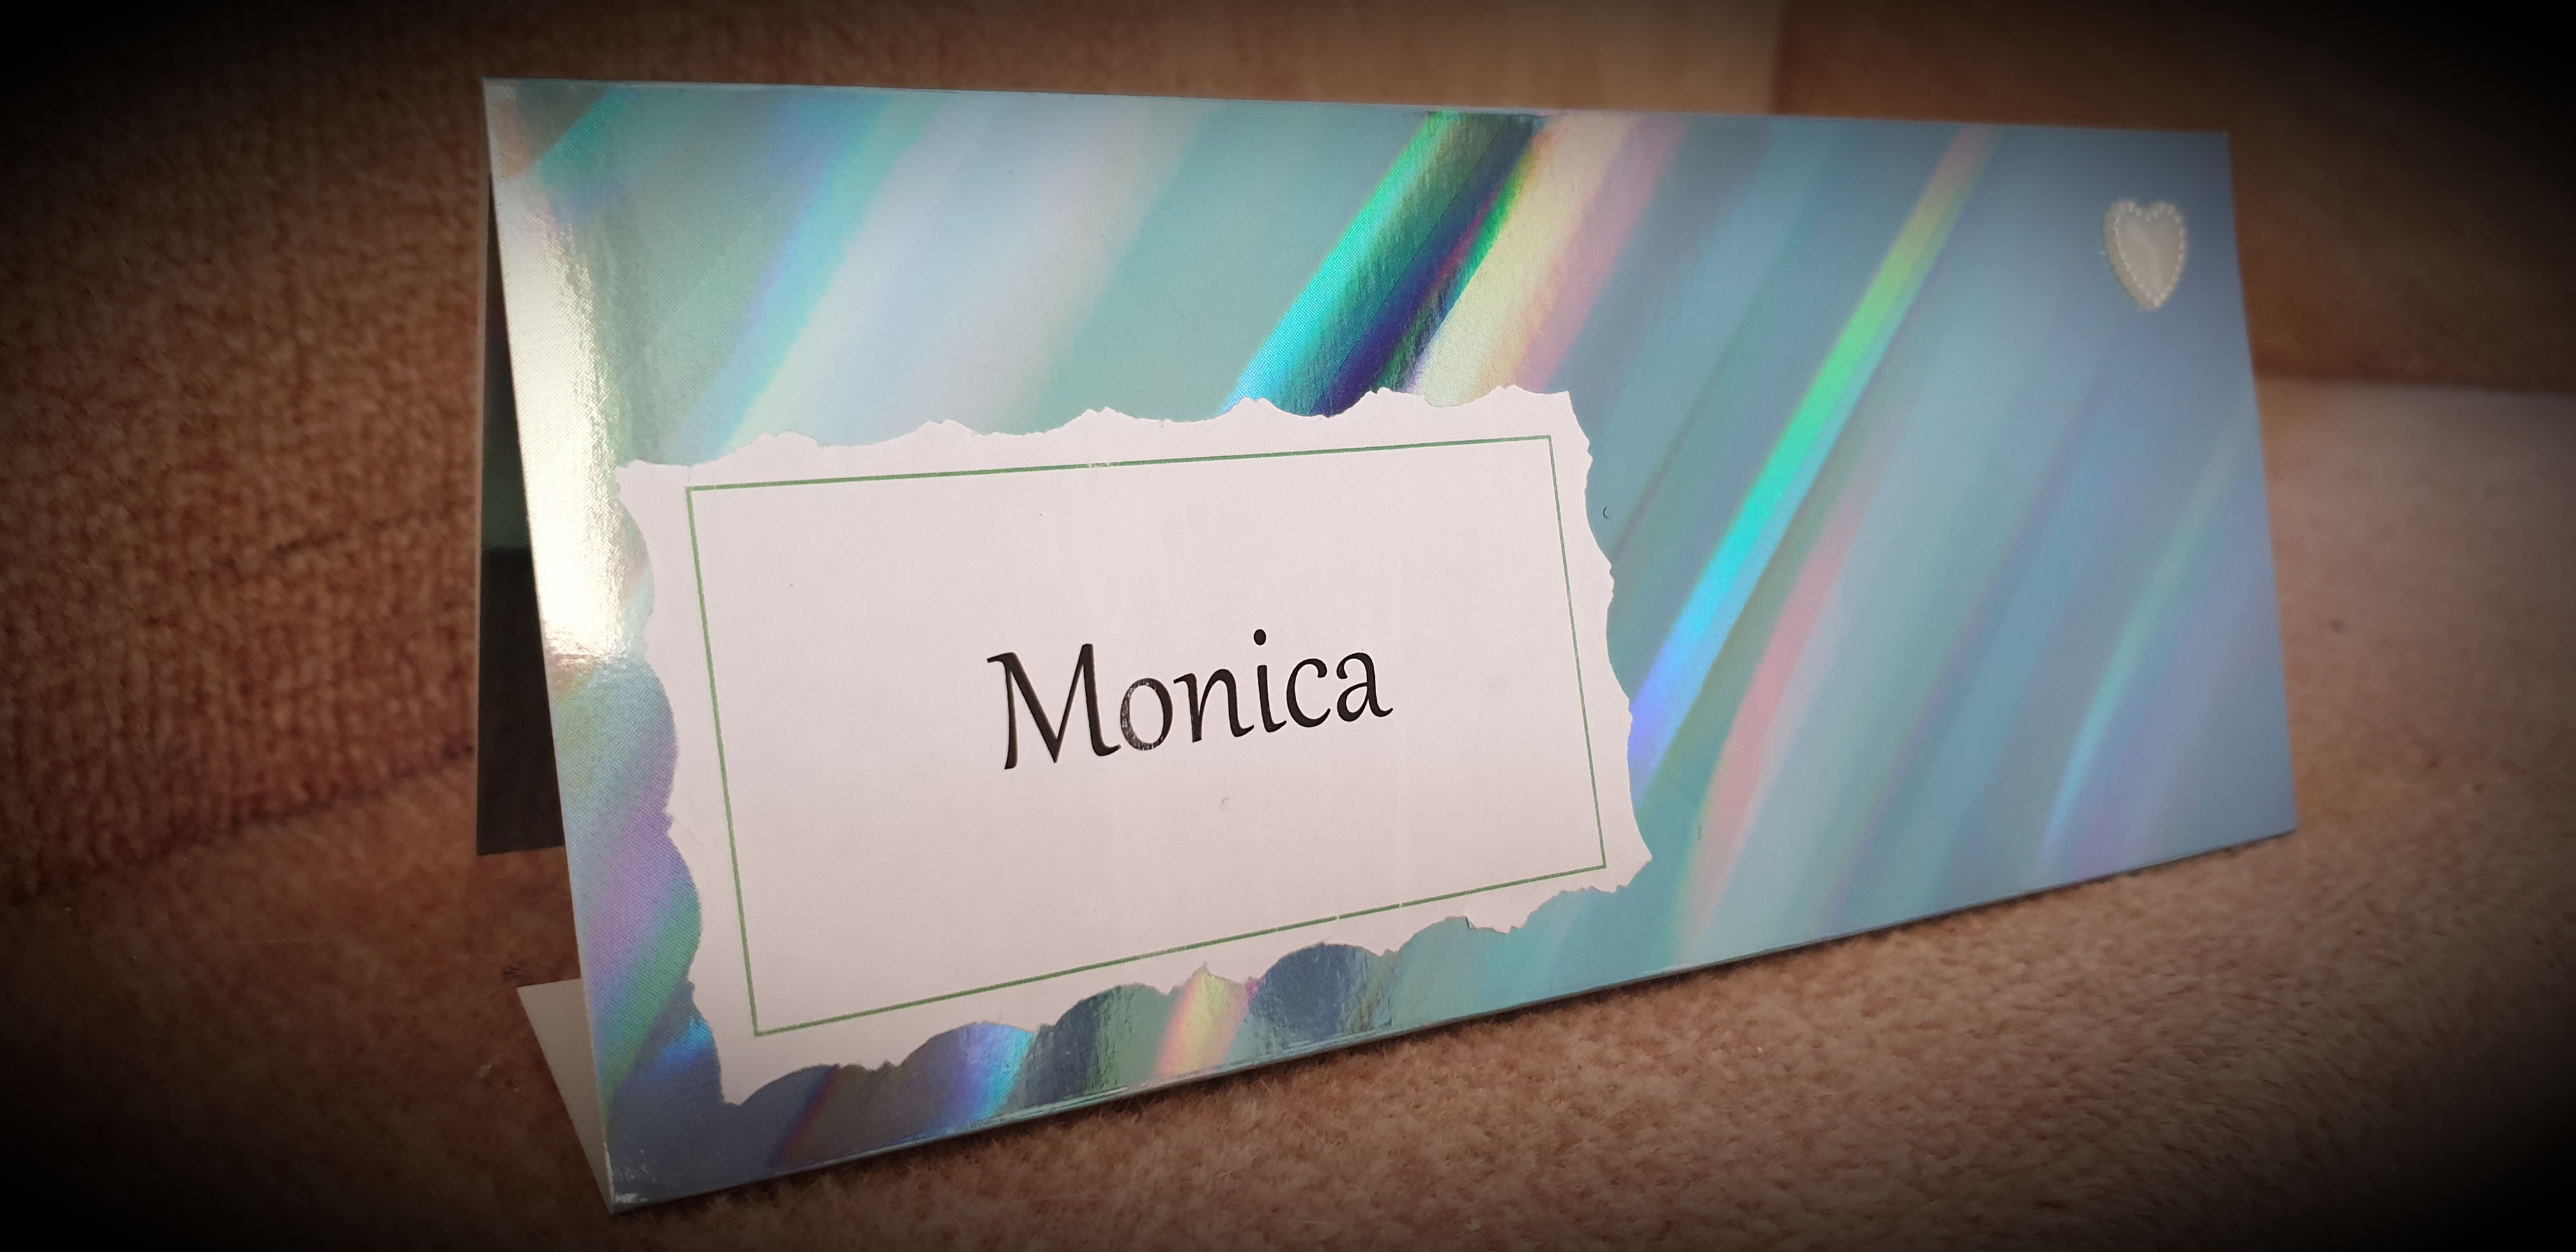
Wedding Table Name Cards and Envelopes DIY are extremely easy to make and can save you some nice bucks. But even more, you can get creative and produce unique designs that will definitely stand out from the regular printing shop wedding table name cards. Check out Amazon for thick paper, colored labels, or sticker paper.
Step 1 – Measurement
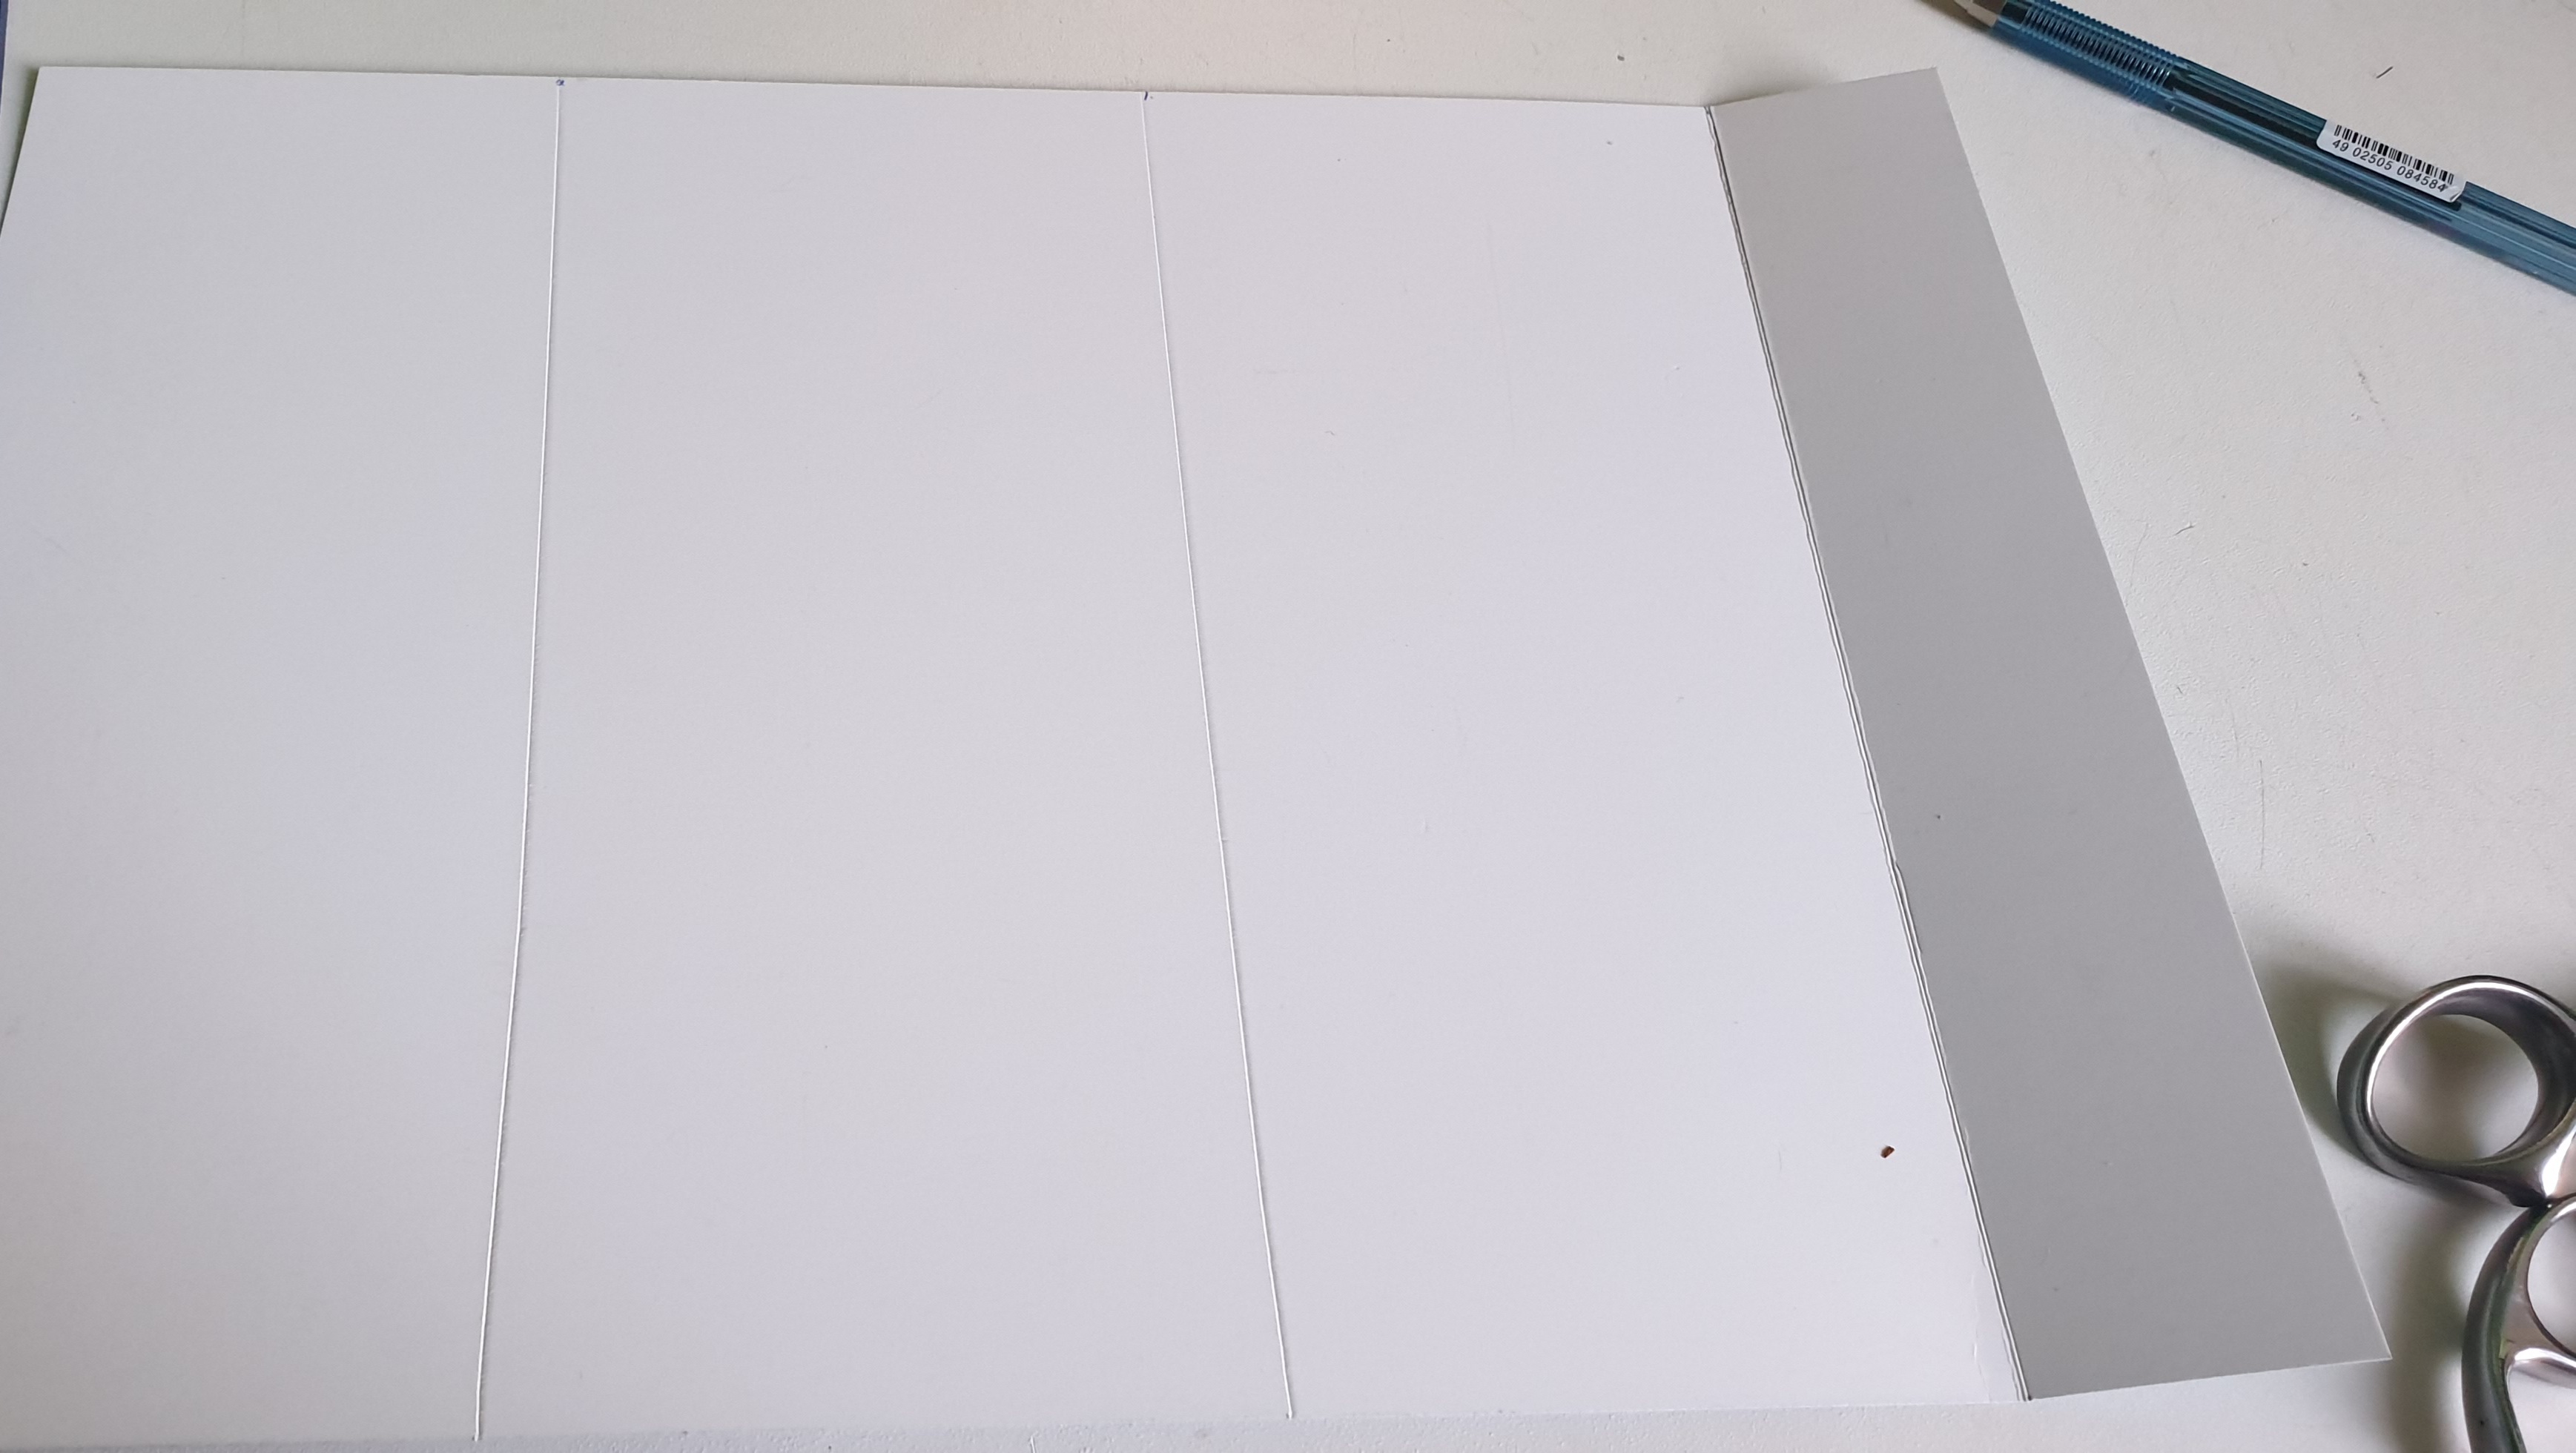
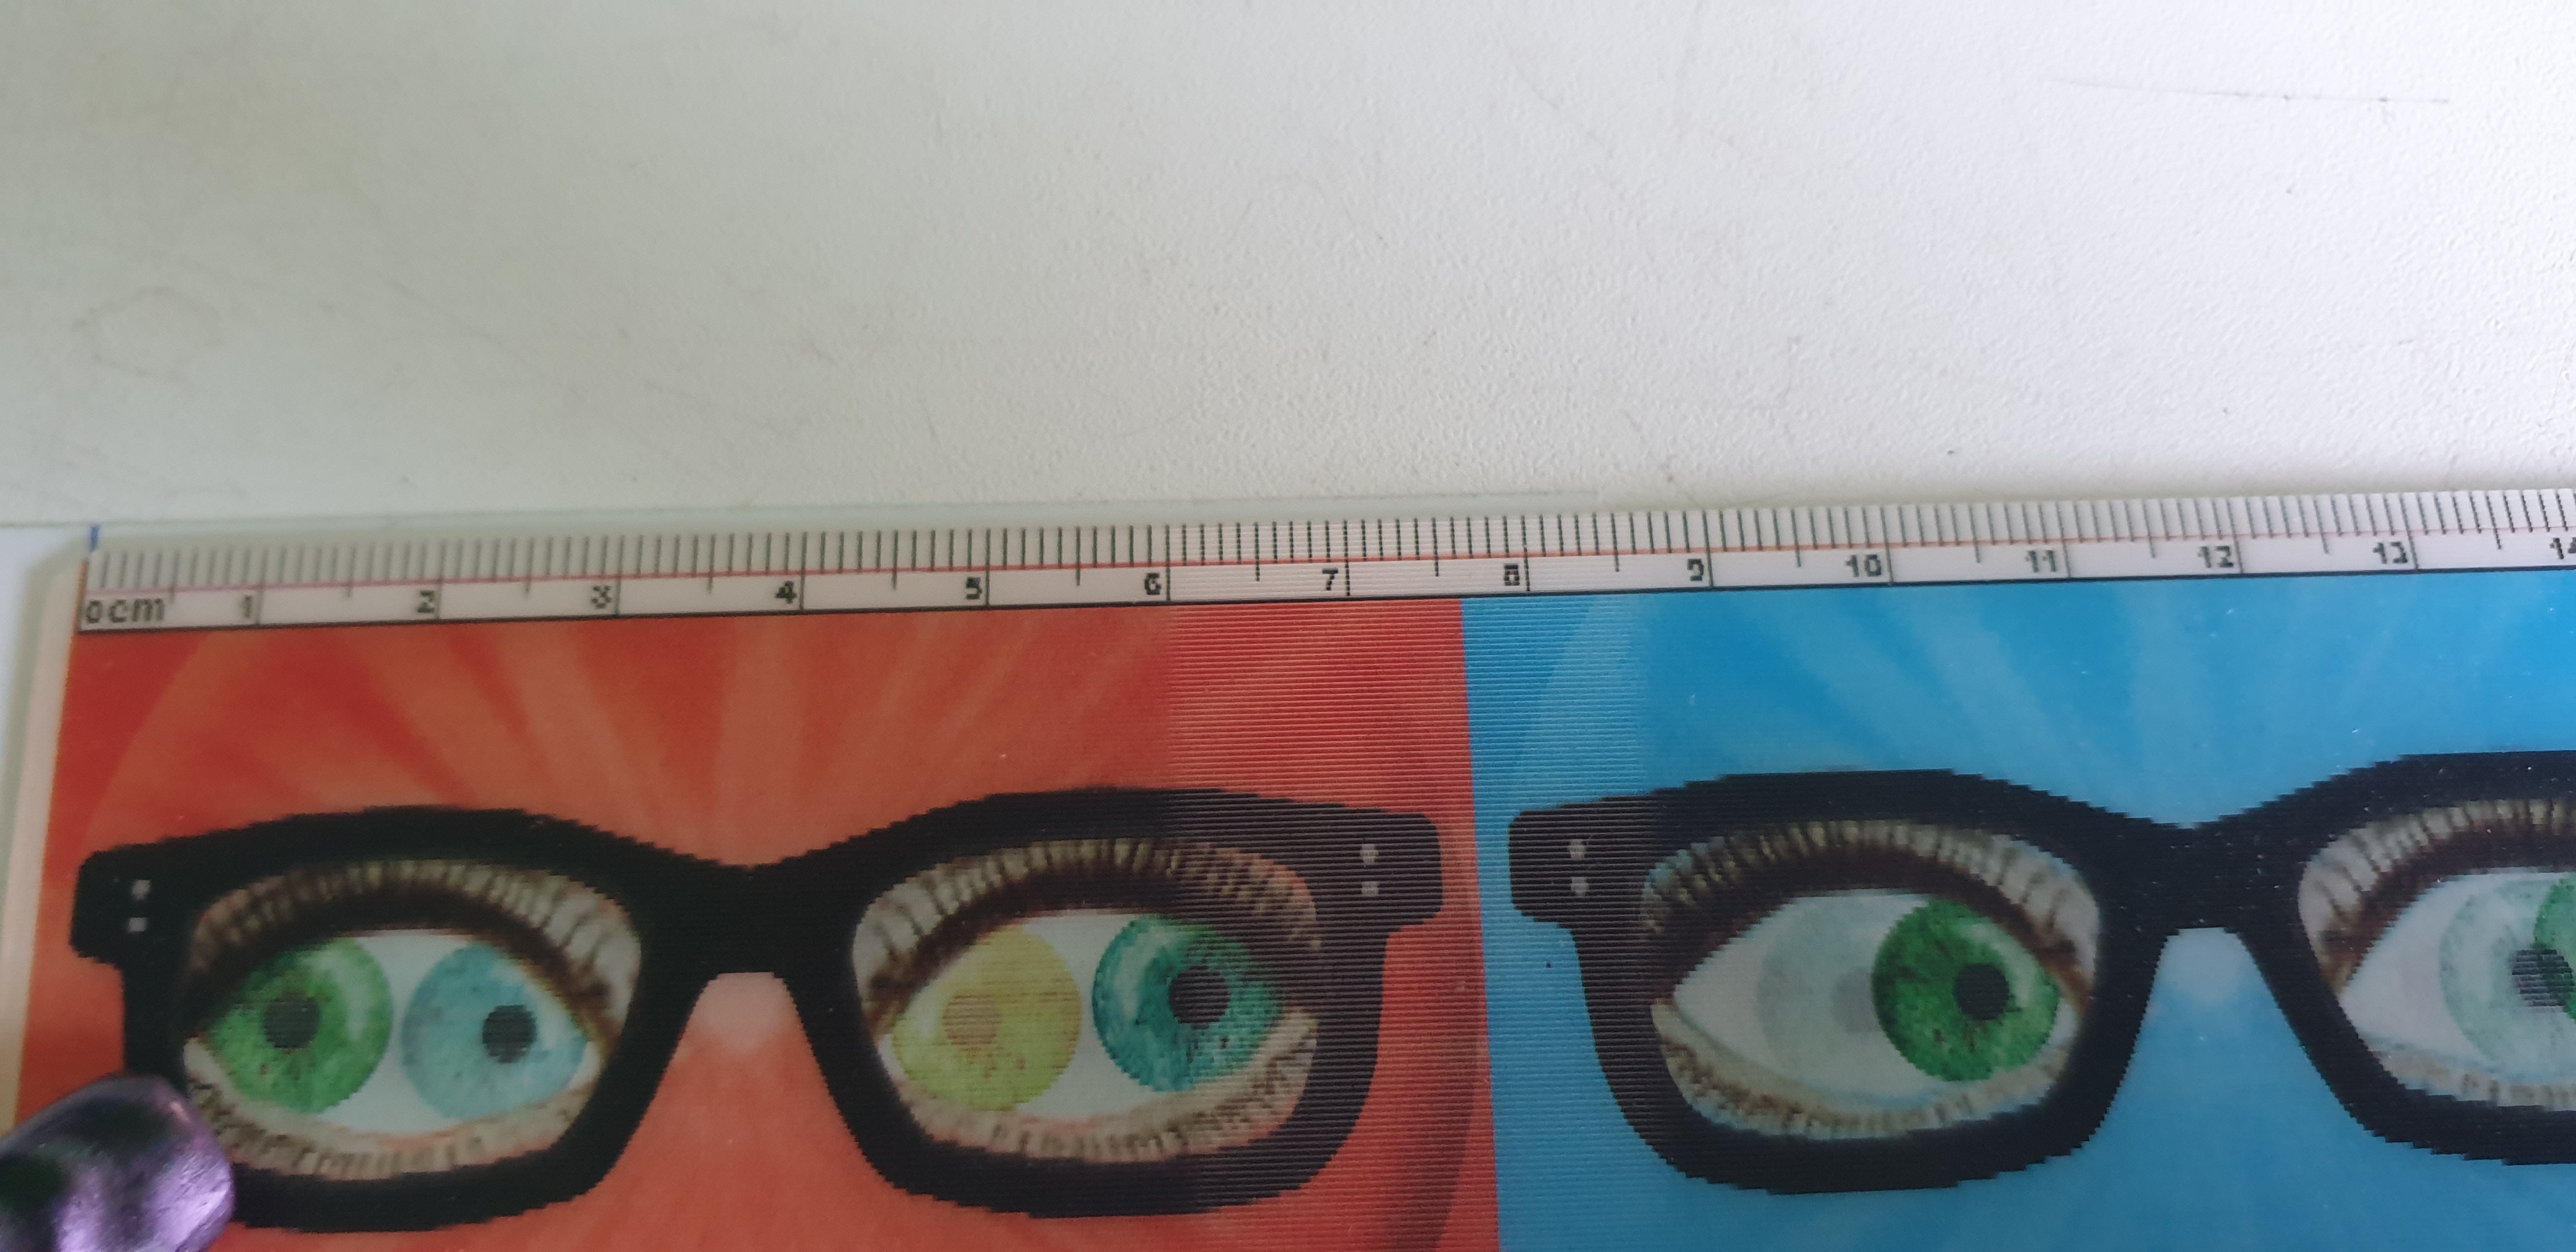
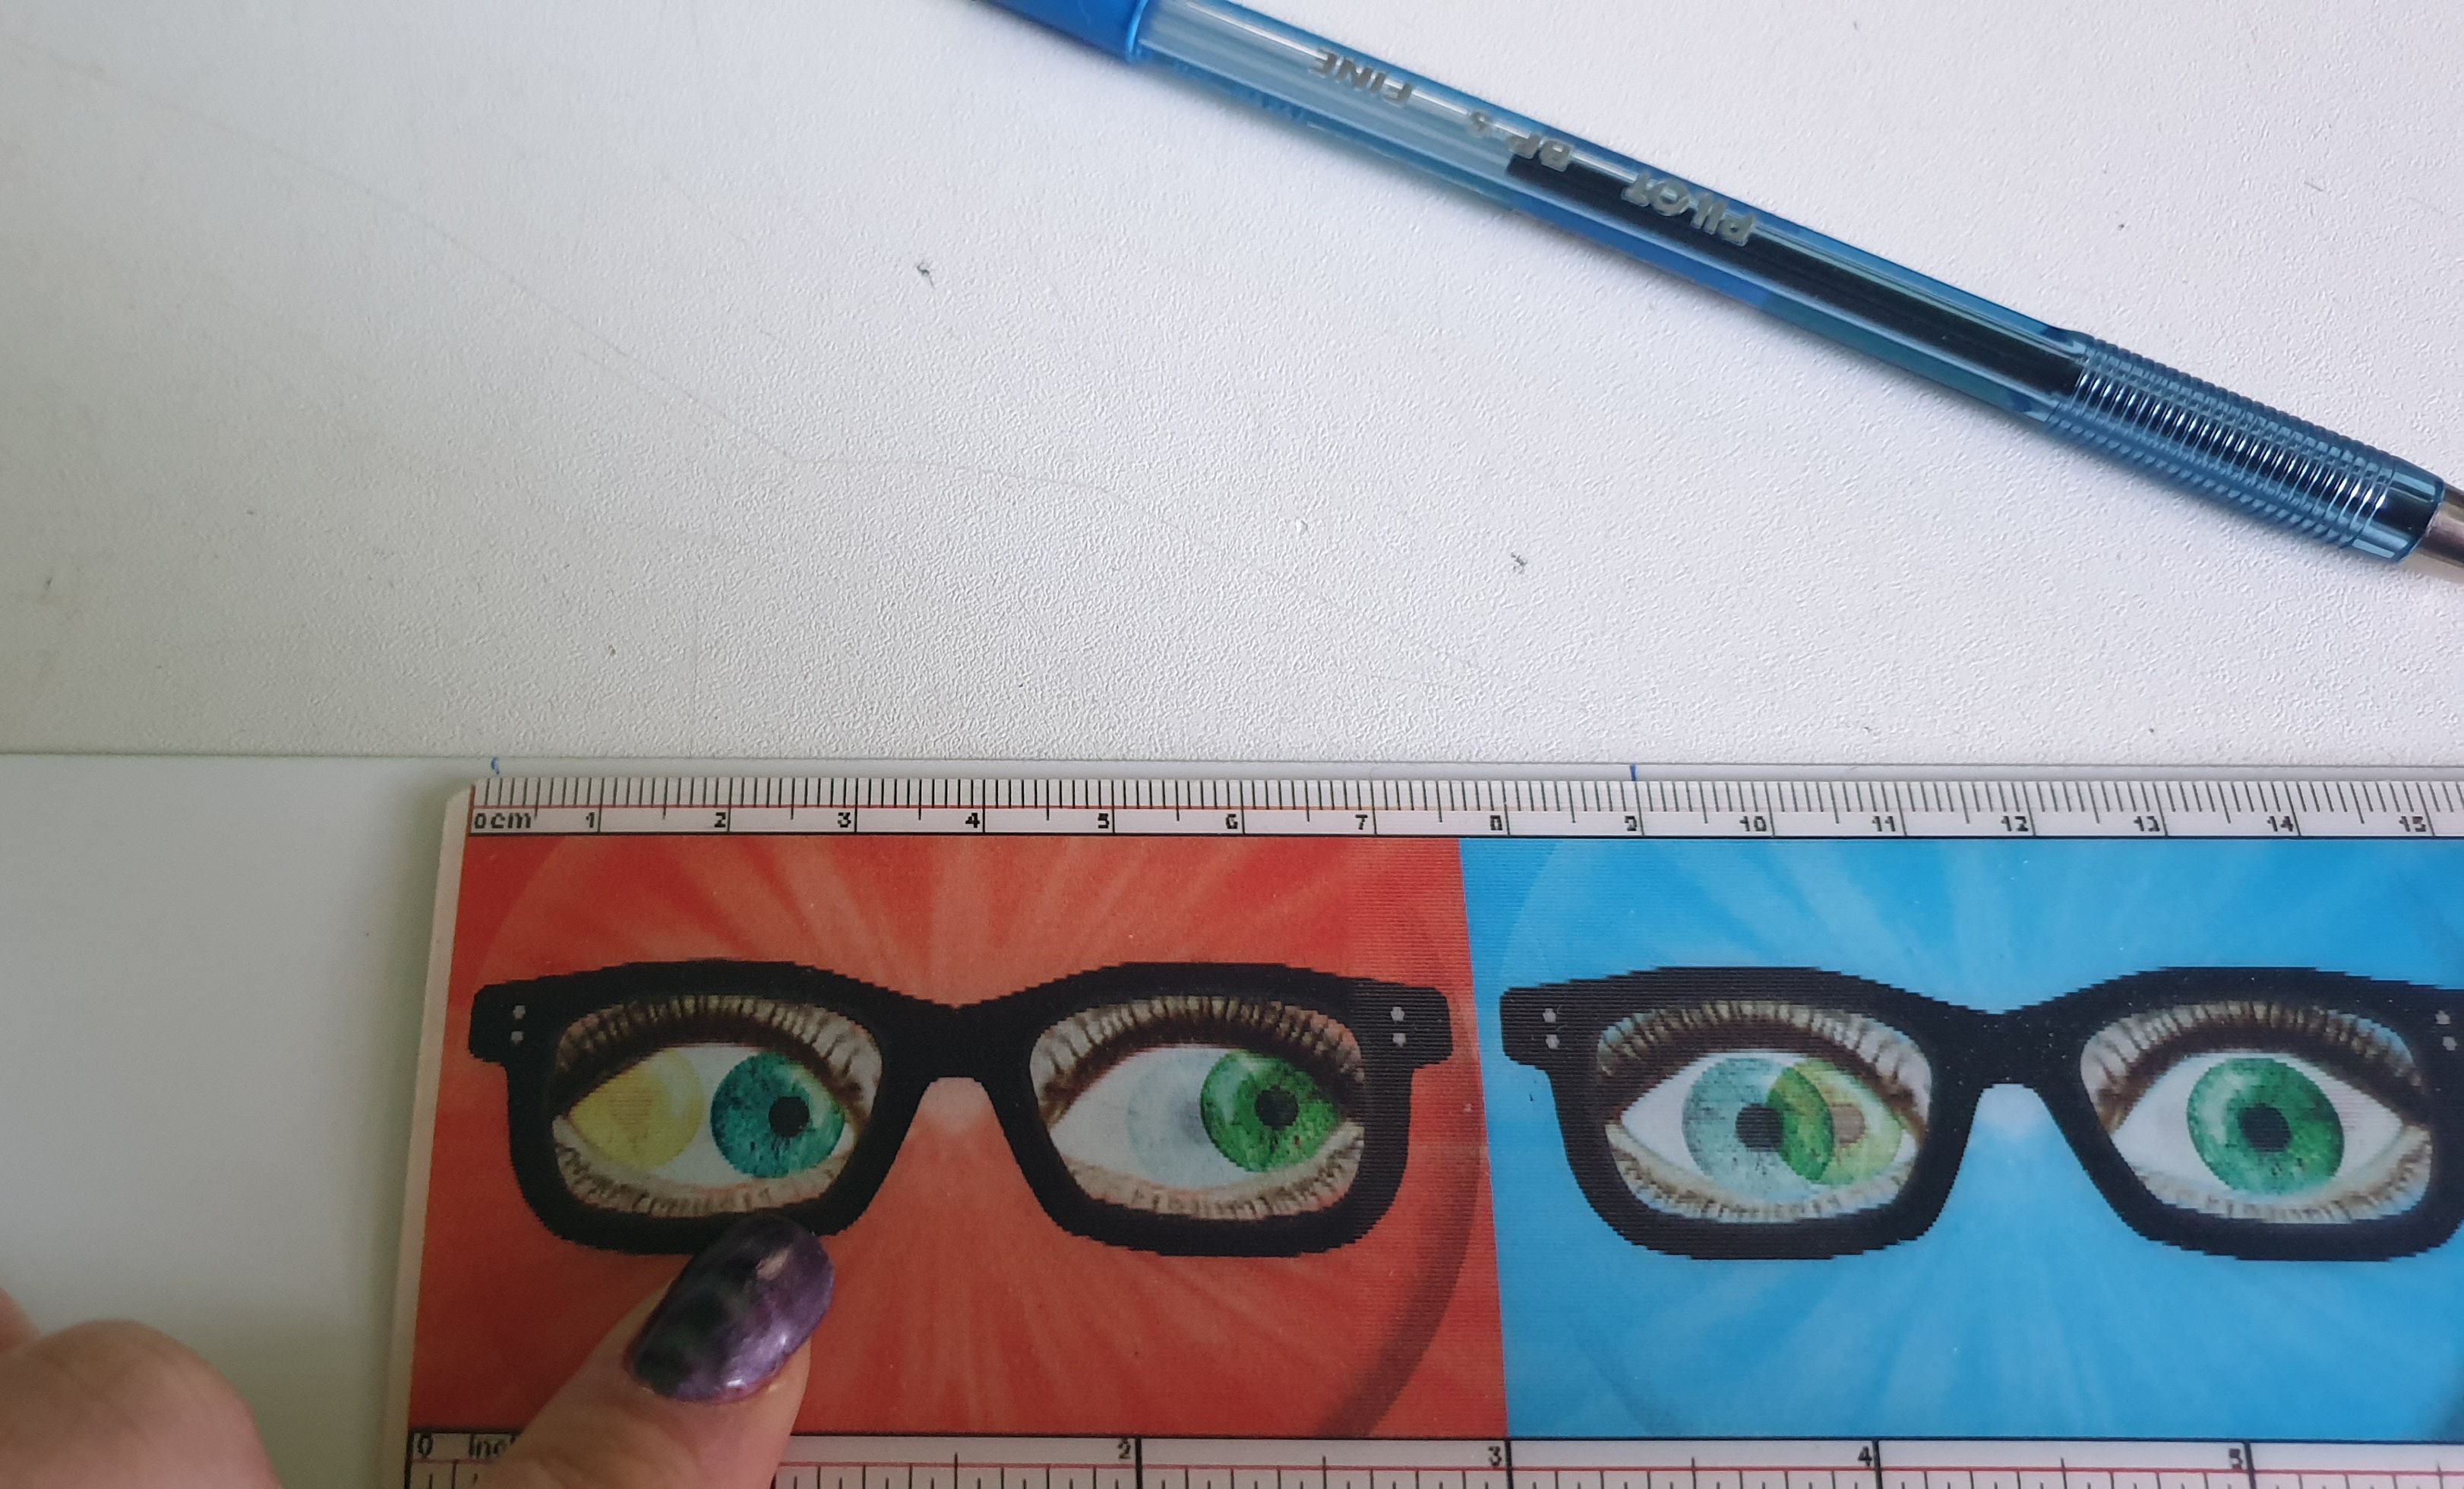
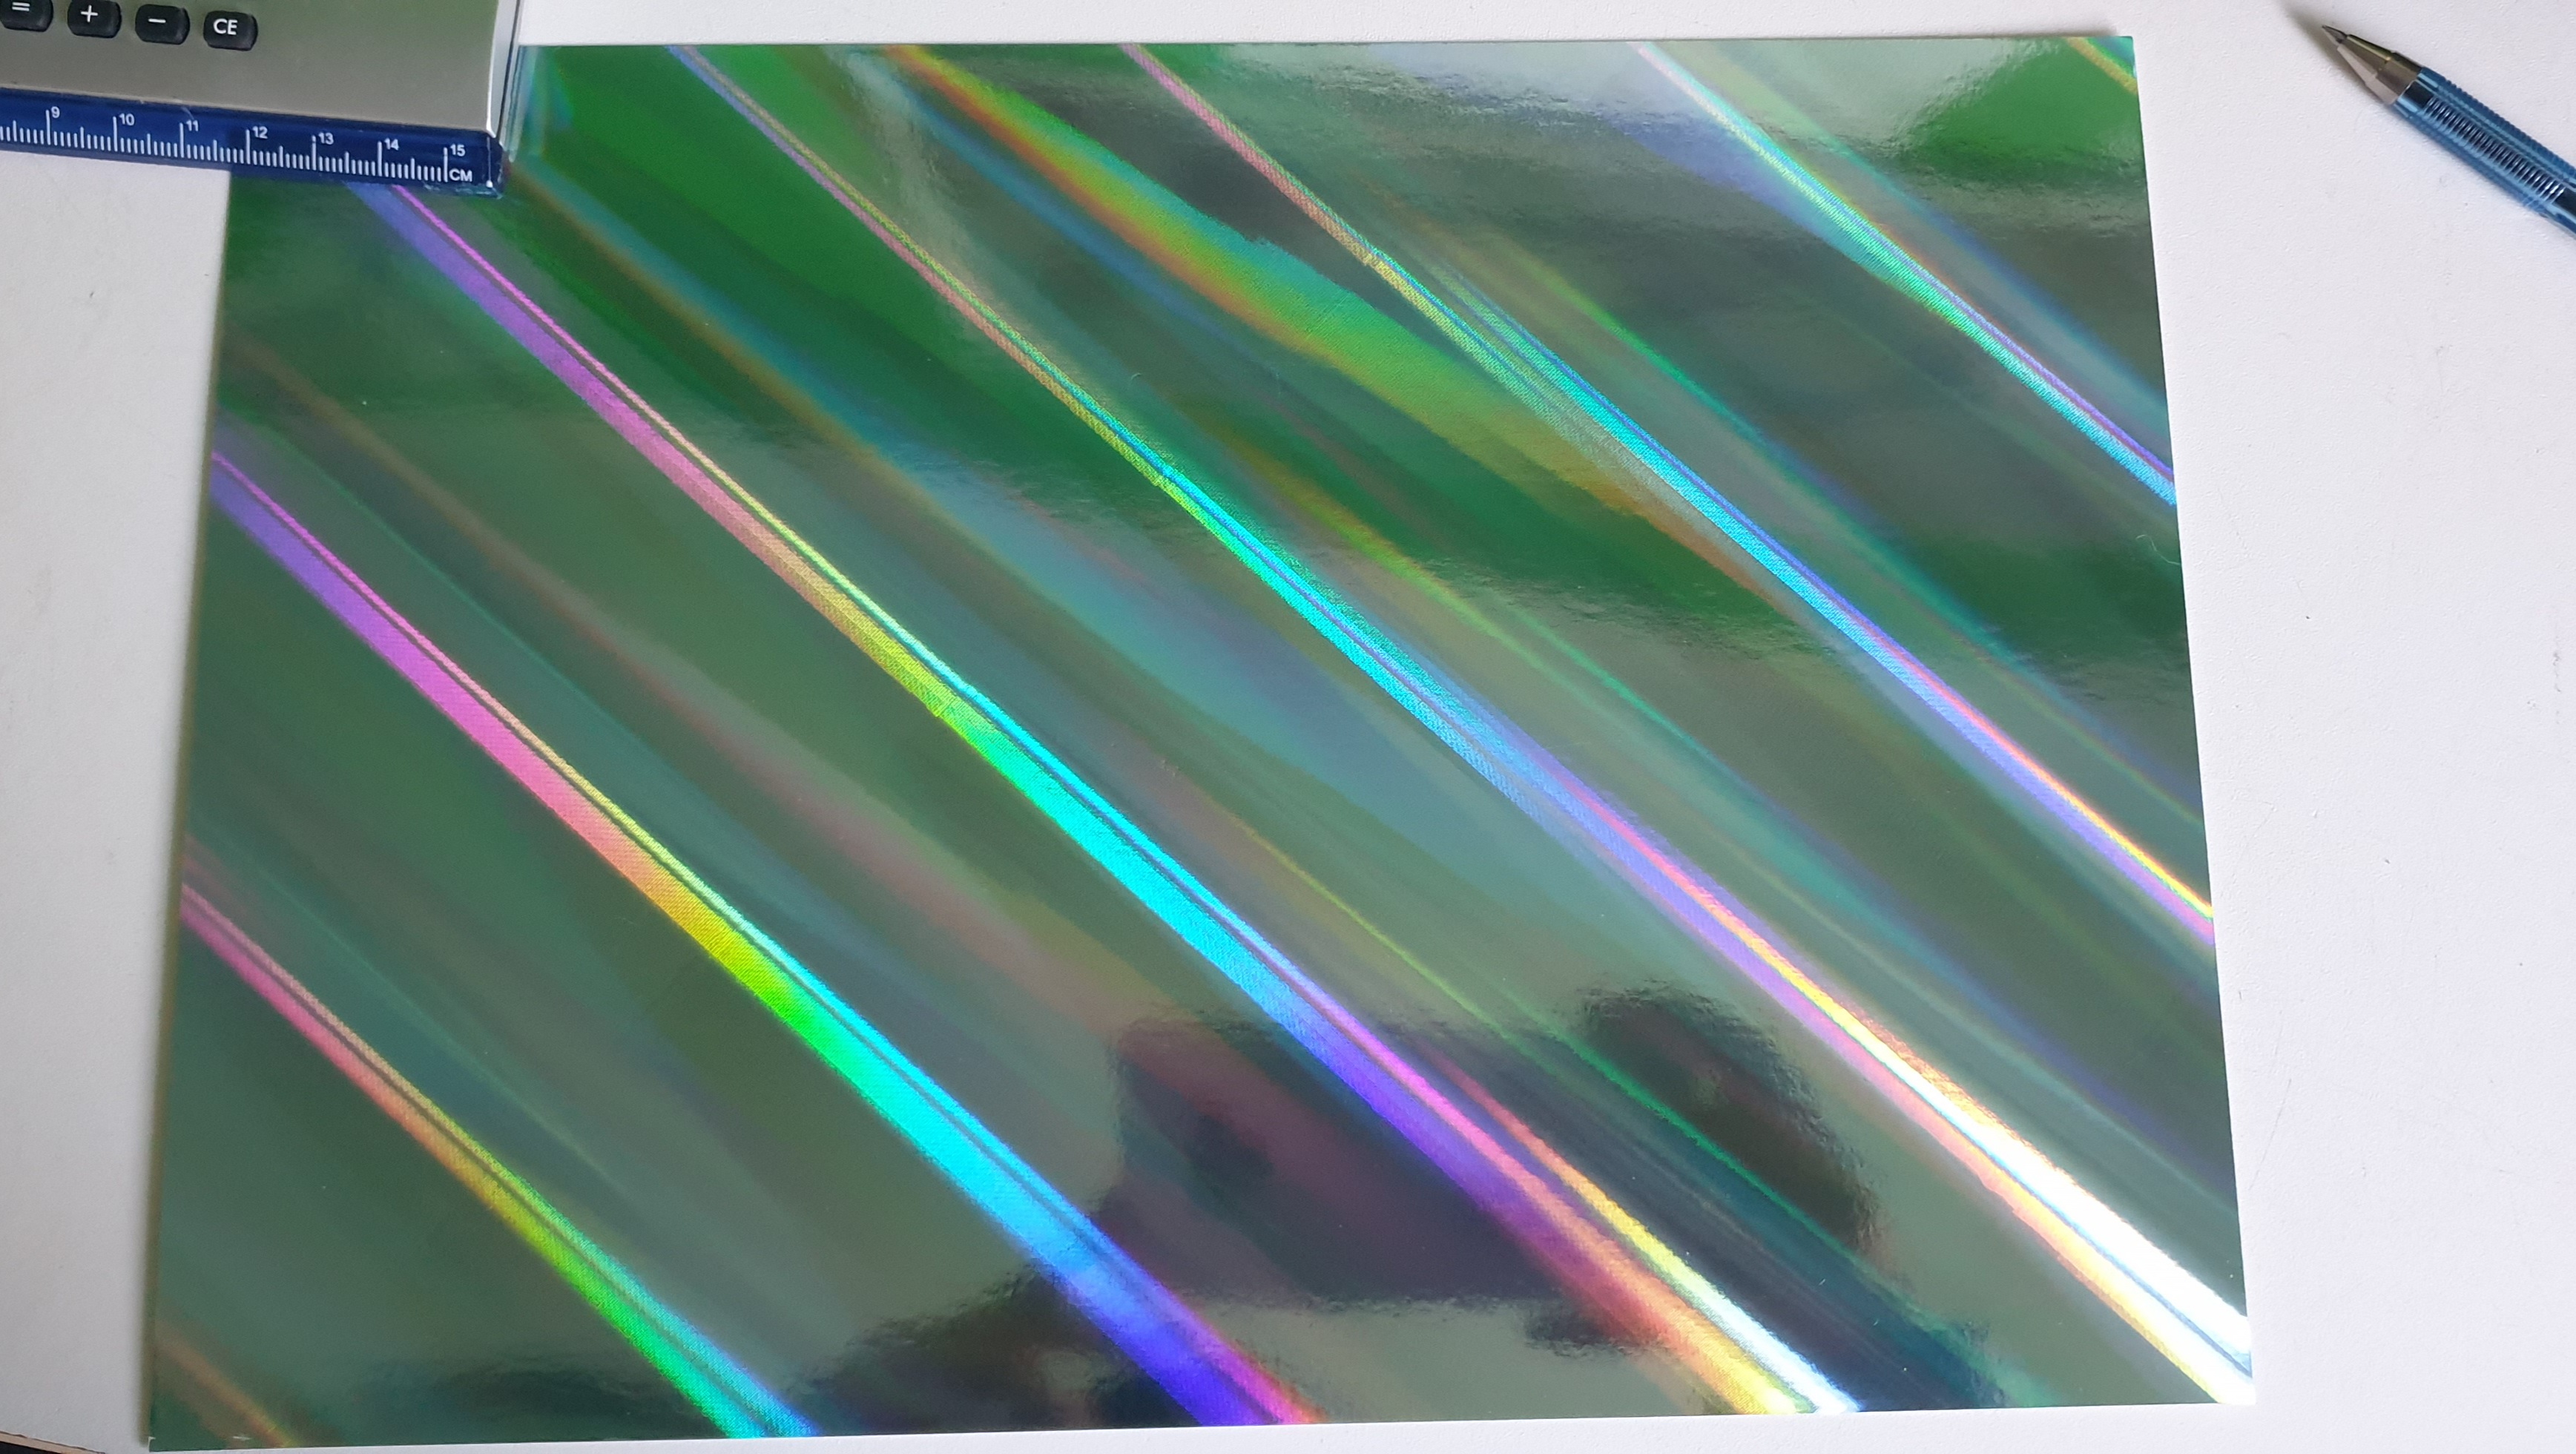
Firstly, get scissors, a ruler, your working paper, and the decorations you want to add to your table name card. Your paper most likely will come in A4 size, meaning a length of 29.5 cm, so you should measure and mark the folding areas with the first section of 3 cm, the second one of 9 cm, the third section of again 9 cm, and finally, the fourth one of remaining 8.5 cm.
Step 2 – Folding
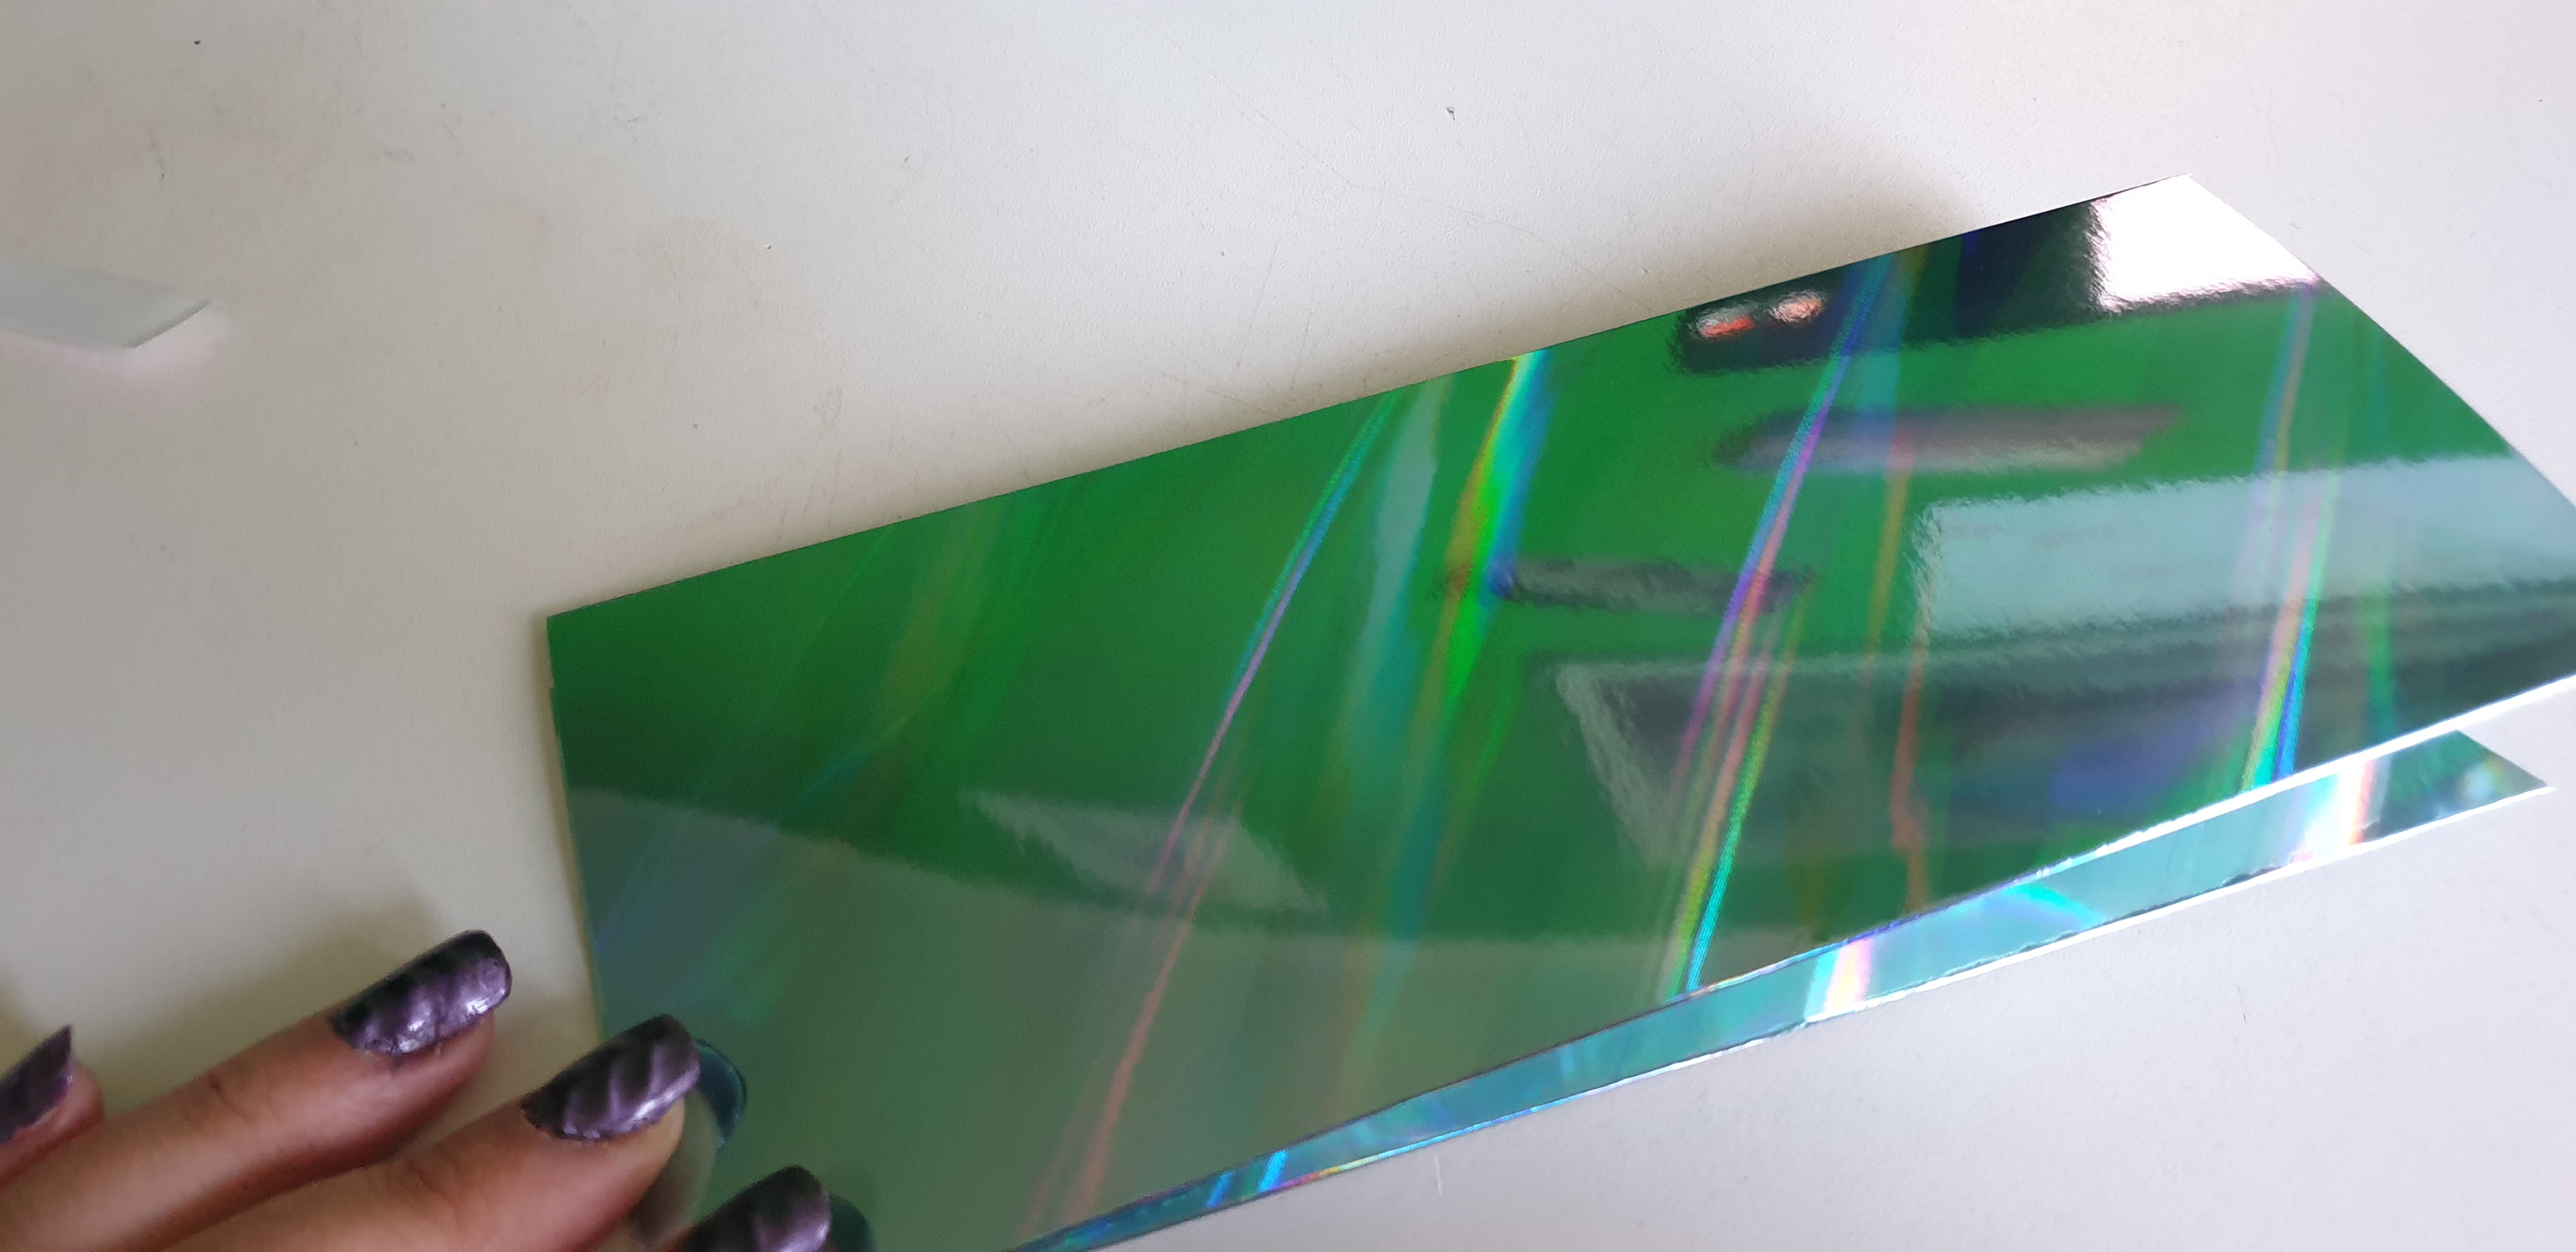
Use your scissors to mark – basically scratch – the folding line on the back of the paper, especially if you are working with thick paper. This will help to fold it nicely without tilting it.
Step 3 – Tape it
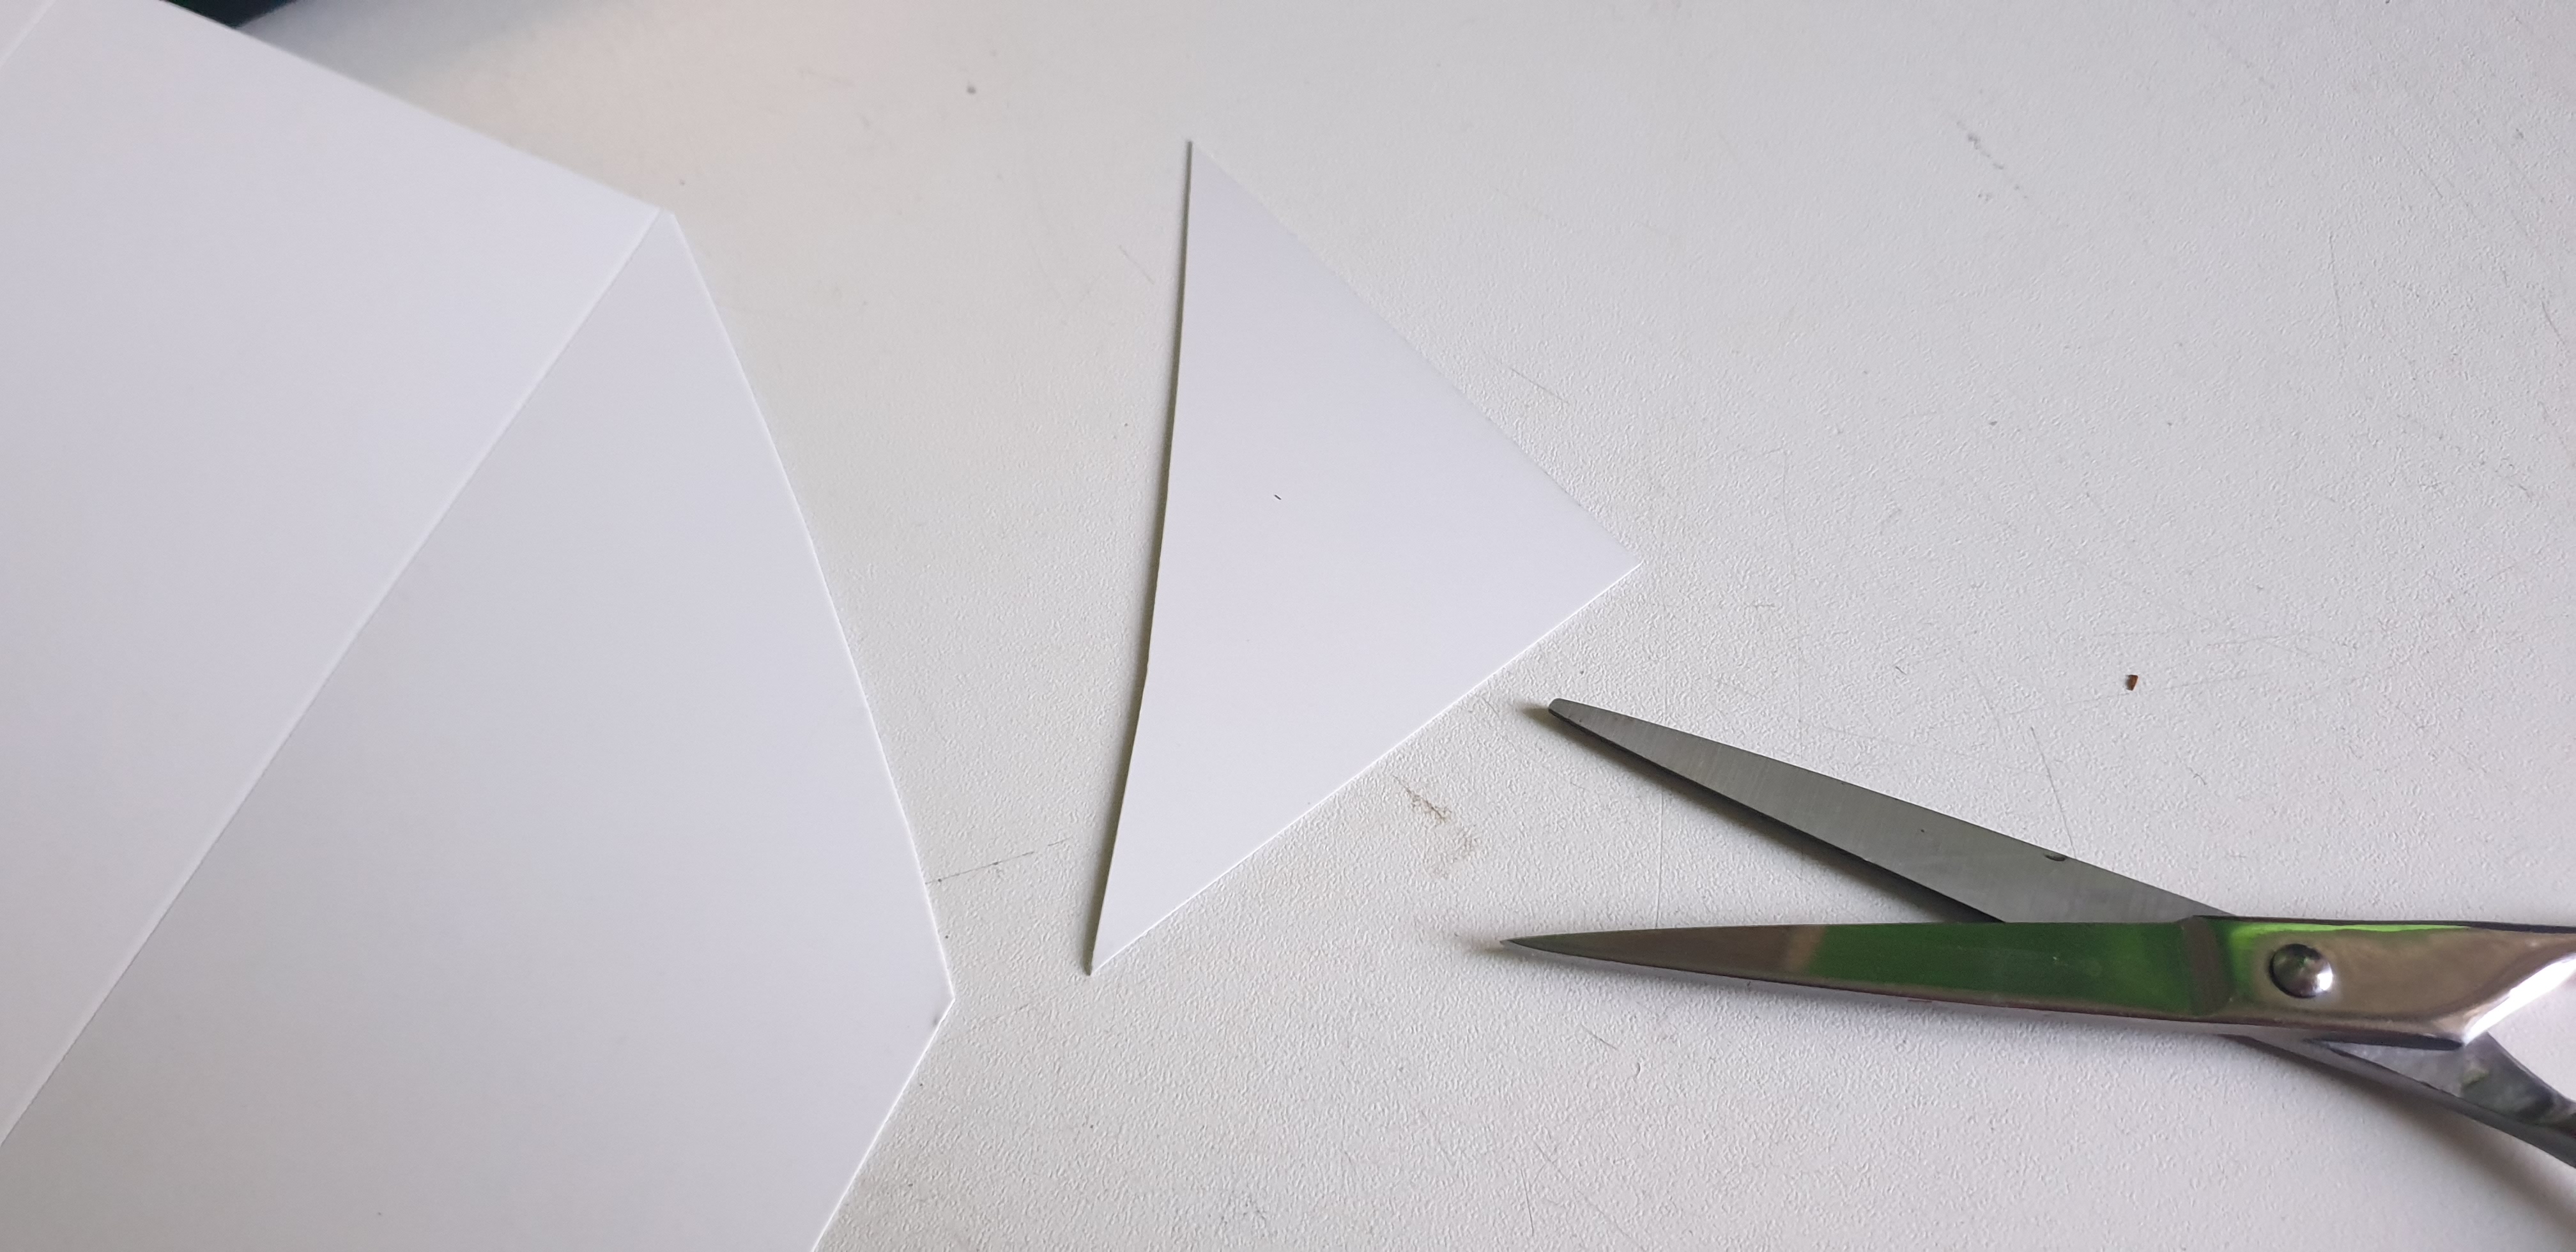
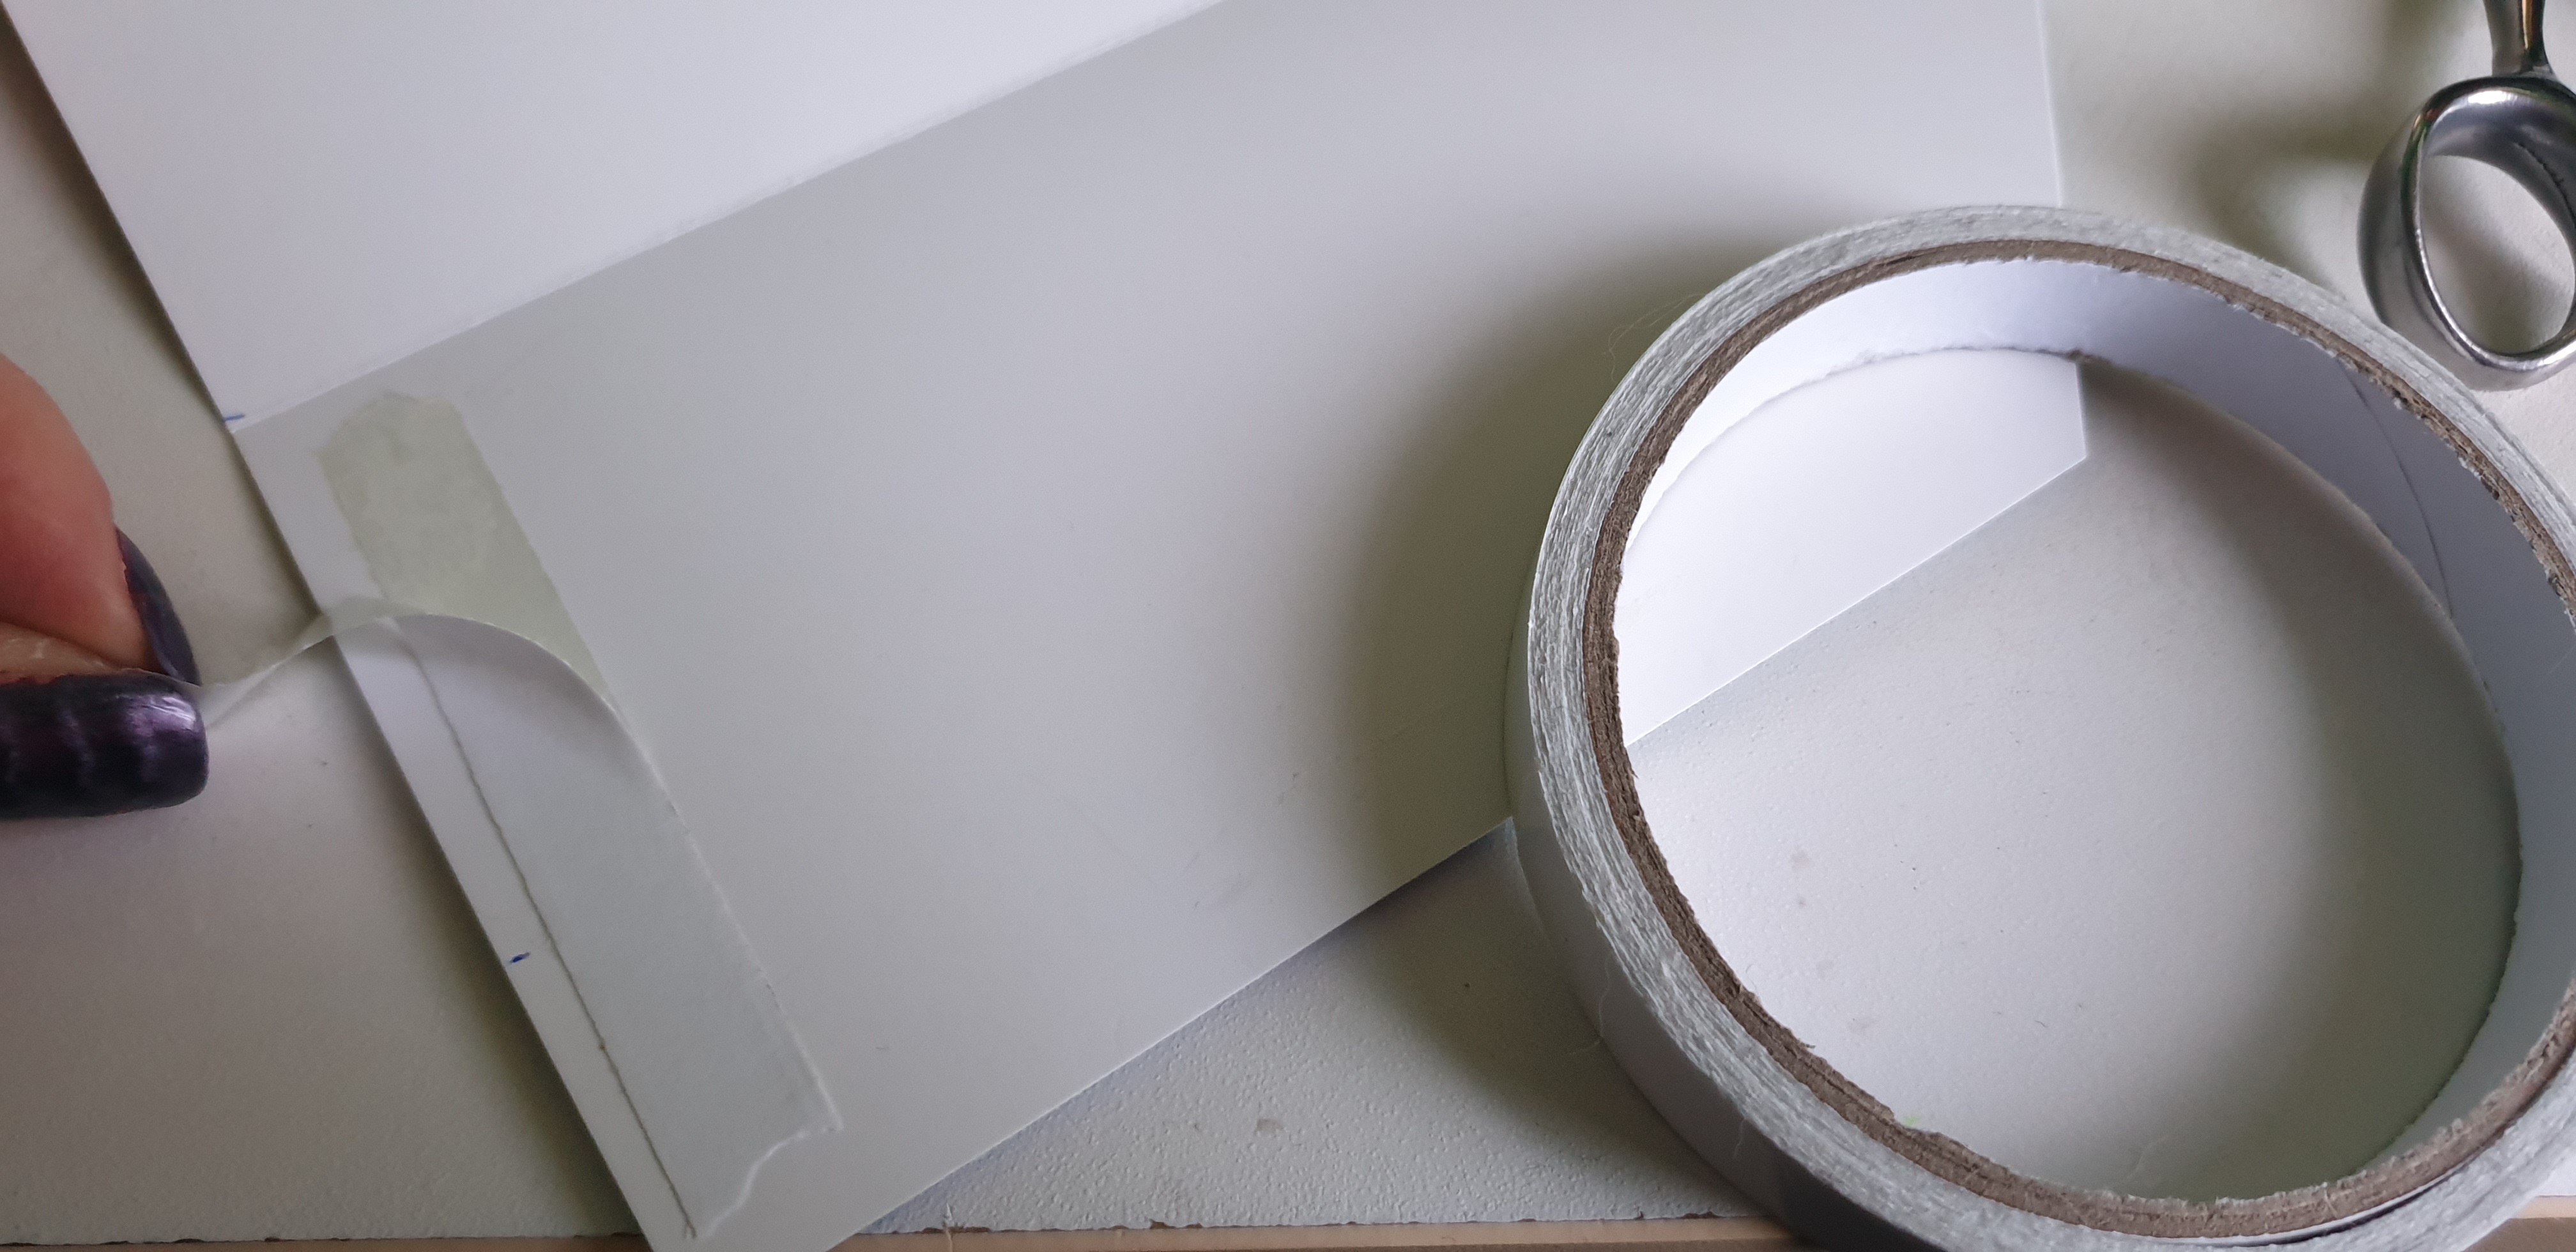
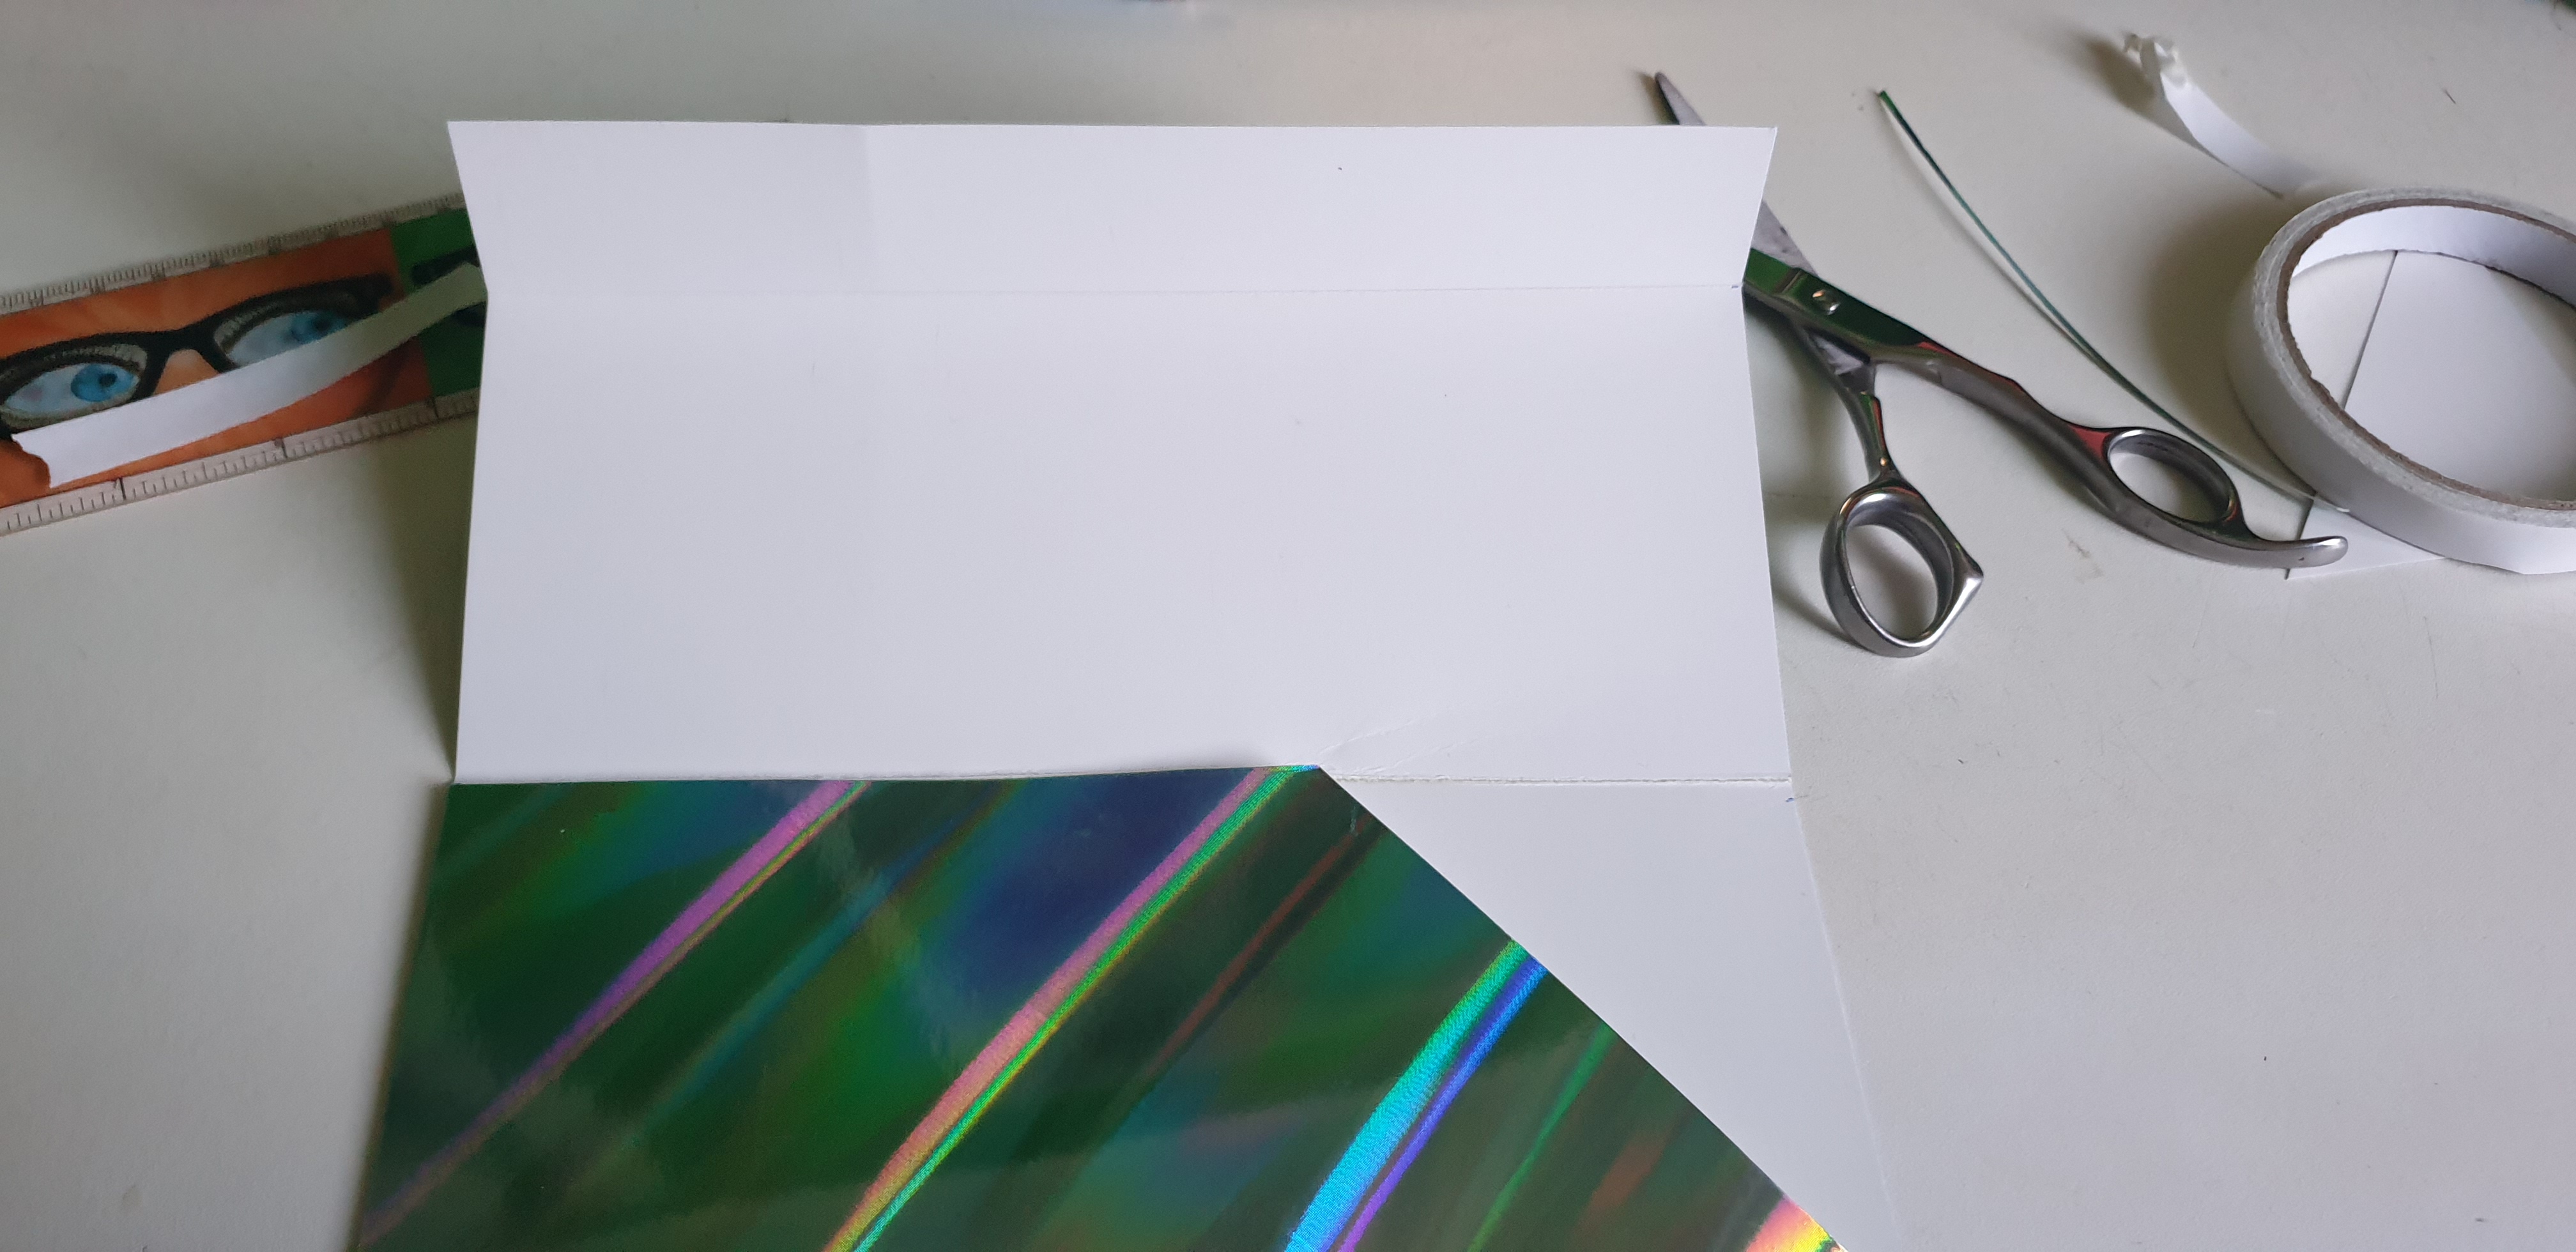
Next, you should cut the corner of the 8.5 cm part, add double-sided tape on the opposite side, and fold it as an envelope, just like in the images below:
The card should stay up with the help of the 3 cm part, which acts as a support. Next, you can add to its front, the name label and any desired decorations you wish to have on your DYI wedding table card & name envelope.
Good luck with your cards and have fun producing them. Your guests will definitely appreciate the personal touch at your wedding party and celebration!
One thought on “DIY Wedding Table Name Cards with Envelopes”
Comments are closed.